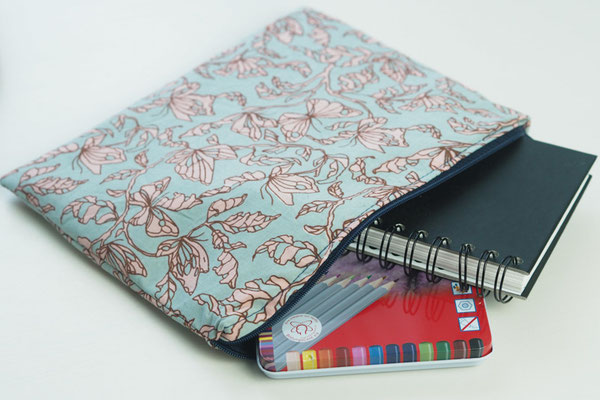
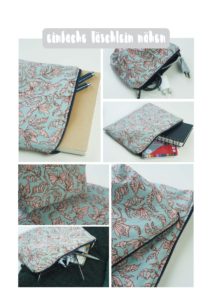
Do you always feel that you don't even know what to do with all the odds and ends? Oh, if only you had a suitable bag for everything, for example to store knitting utensils, pens and sketchbooks or all of the charging labels. Well then! Sew your matching purse, just as you need it. You decide the dimensions yourself and you can also choose between a flat pocket and a pocket with a little depth. Both variants are explained to you in the instructions. In the end you just have to choose your favorite fabric, we recommend one of the beautiful Indian fabrics Hand block or screen prints. By the way, you can find the eBook for instructions at the bottom of the page. Have fun sewing!
Material
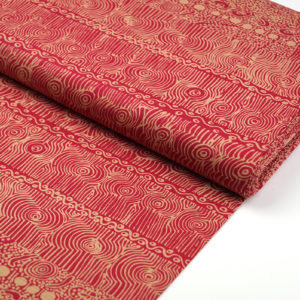
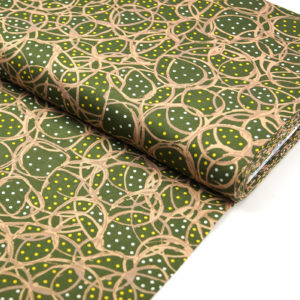
Fabric: Chandur Floral, approx. 0,35 m
Lining fabric, woven fabric
thin iron-on insert
Zip in your desired length
matching yarn
Tools
Fabric scissors
Linear
textile marker
Wonderclips
Iron
Optional: small twine scissors
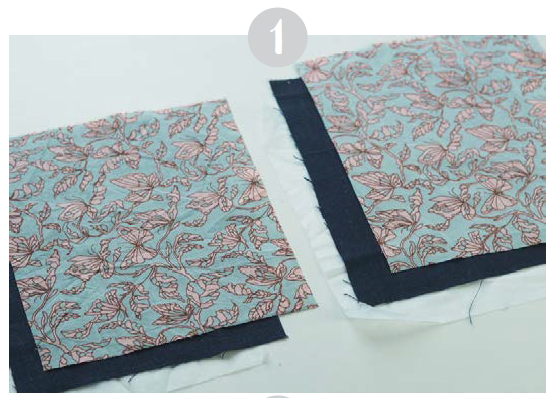
1. Cutting
You can freely choose the dimensions for your bag and adapt it to your requirements. You need 2 pieces each from your outer fabric, your lining material and from the insert. Also take into account a seam allowance of at least 1 cm. My pattern pieces have the dimensions 22 x 17 cm, so that at the end a small bag with the finished dimensions of approx. 20 x 15 cm is created.
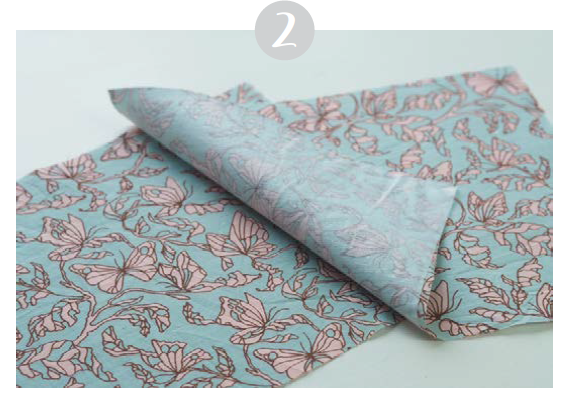
2. Iron on the insert
Iron your insert onto the two pattern pieces made from your outer fabric. If your lining is very thin, you can also iron on a thin insert here.
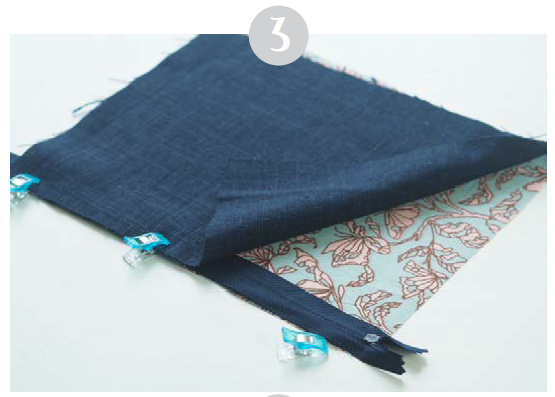
3. Secure the zipper
Place a pattern piece from your outer fabric in front of you with the right side of the fabric facing up. Pin the zipper on the top long edge. If you've chosen a fabric that has a directional pattern, make sure it's the right way up. Pin the pattern piece from the lining material right sides together.
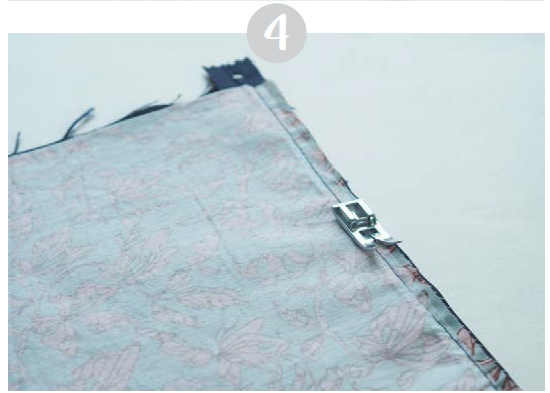
4. Sew on the zipper
Sew the zipper a presser foot width. Stop the seam just before the slider, lift the presser foot,
pull the slider backwards, press the presser feet back down and continue sewing as normal. Lock the seams well at the beginning and the end, that is, sew once briefly back and forth.
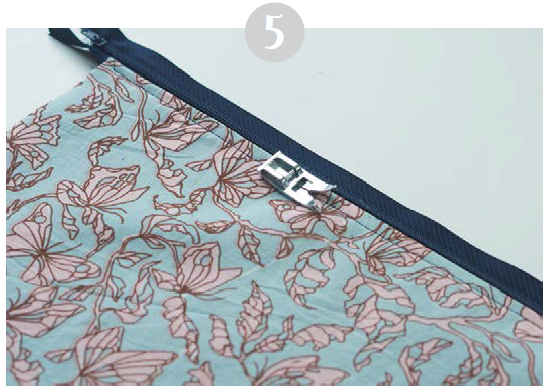
5. Quilting
Iron the edge you have just sewn so that the seam allowance lies between the fabric and the zipper on top. Quilt the edge close to the edge. Now sew the other two pattern pieces from the outer and lining fabric in the same way. At the end, topstitch the edge again.
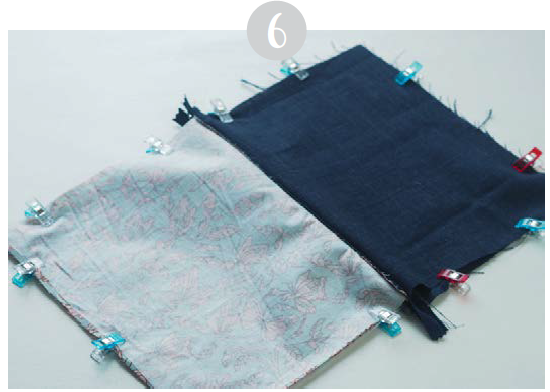
6. Put the bag together
Open the zipper. Then put the pattern pieces from your outer fabric and the inner lining right sides together. The zipper is in the middle, the seam allowance from the zipper looks towards the outer fabric.
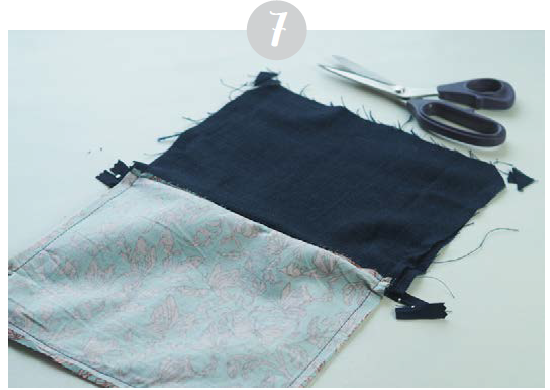
7. Sew the bag together
Now sew everything around it with a seam allowance of 1 cm. Start at the bottom in the inner lining and leave a turning opening of at least 5 cm open. Again, lock the ends and the beginning well.
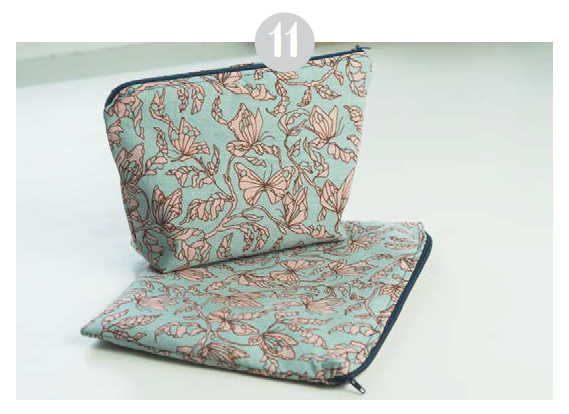
If you want to sew a flat pocket, you are almost done here. Cut the seam allowance diagonally at the corners and shorten the ends of the zipper as well. You can skip the next two steps.
8. Mark the corners
To give your little bag depth, the corners are now sewn off. Fold the four corners so that the bottom seam and side seam meet to form a triangle. Mark a straight line approx. 3 cm from the tip of the seam (not the tip of the seam allowance!). The marking runs across the seams.
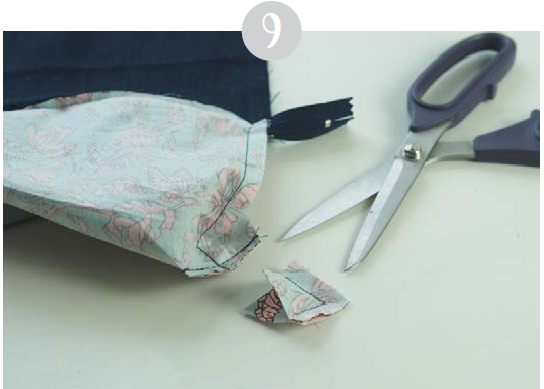
9. Sew the corners
Sew off all four corners along your mark. Lock the beginning and ends well here as well. Then cut off the corners until just before the seam.
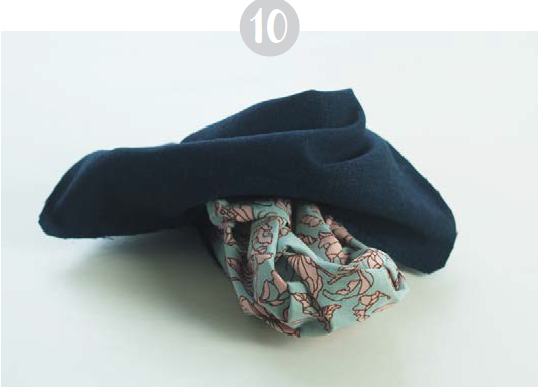
10. Turn
Turn your bag inside out through the opening. Shape the four corners as well. Close the reversible opening by hand or close it with a sewing machine and slide the inner lining into your pocket.
We use technologies such as cookies to store and/or access device information. We do this to improve the browsing experience and to display personalized advertising. If you agree to these technologies, we can process data such as surfing behavior or unique IDs on this website. If you do not give or withdraw your consent, certain functions may be affected.
Functional
Always active
The technical storage or access is absolutely necessary for the legitimate purpose of enabling the use of a certain service that is expressly requested by the subscriber or user, or for the sole purpose of transmitting a message via an electronic communication network.
preferences
Technical storage or access is necessary for the legitimate purpose of storing preferences that have not been requested by the subscriber or user.
Statistics
The technical storage or the access, which takes place exclusively for statistical purposes.Technical storage or access that is used exclusively for anonymous statistical purposes. Without a subpoena, the voluntary consent of your Internet service provider or additional records from third parties, the information stored or retrieved for this purpose cannot usually be used to identify you alone.
Marketing
The technical storage or access is required to create user profiles, to send advertising or to track the user on a website or across several websites for similar marketing purposes.