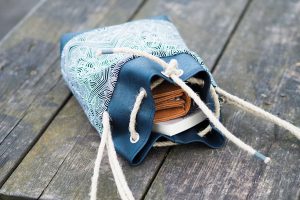
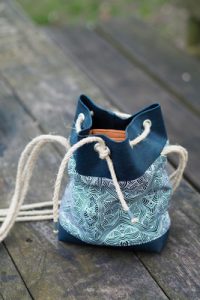
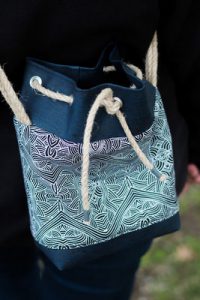
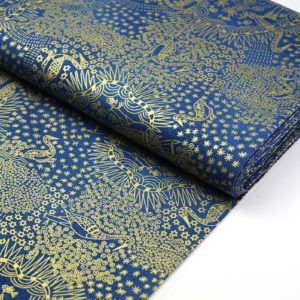
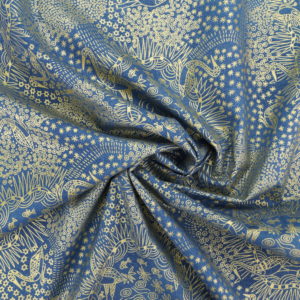
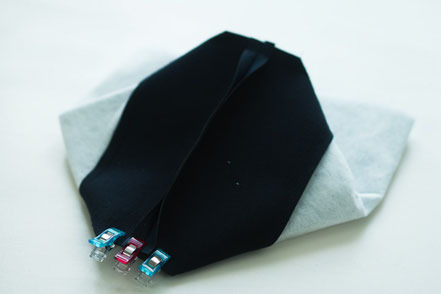
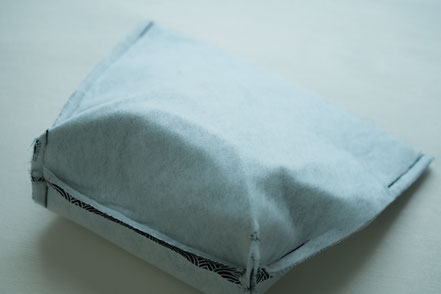
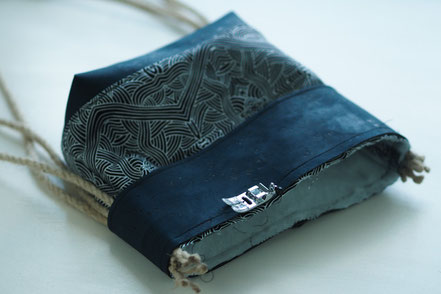
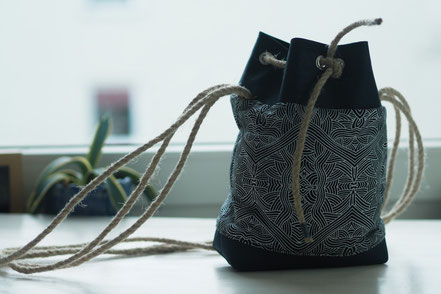
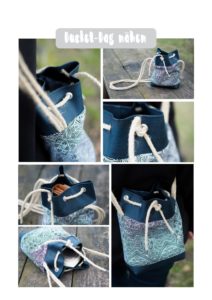
Translated into German, the bucket bag would mean something like basket bag. And even if it sounds strange at first, at least the function and shape of the bag are derived from a basket. But the bucket bag made of beautiful Aboriginal fabrics is not round, but has a square bottom. Nevertheless, it is the perfect companion in everyday life. In the bag, with the finished dimensions of 17 x 26 cm and a depth of 8 cm, there is not only space for your wallet and mobile phone, a book also fits in. The straps are made of a hemp rope, the bottom and the upper edge are made of colored cork. Together with the Australian aboriginal fabrics this creates a great mix of different natural materials.
Material
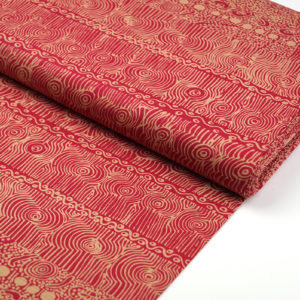
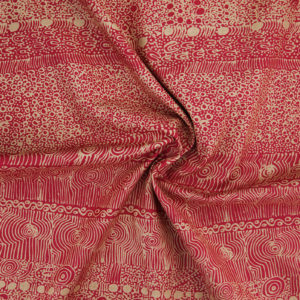
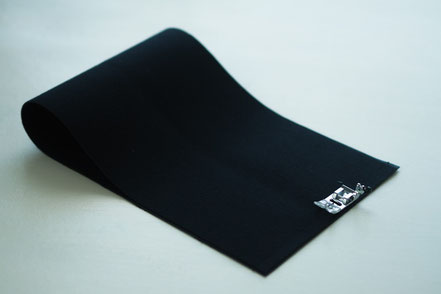
Fabric: Untitled Black by Nabooka, 0,5 m
Cork fabric, 50 x 50 cm
Iron-on fleece insert H630
Eyelets (8 mm), 8 pieces
Eye pliers (old hammer + washer)
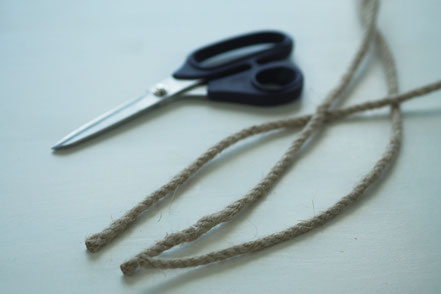
Cotton cord, 5 m
Tools
Fabric scissors
Linear
textile marker
Wonderclips
Iron
Optional: small twine scissors
Cutting
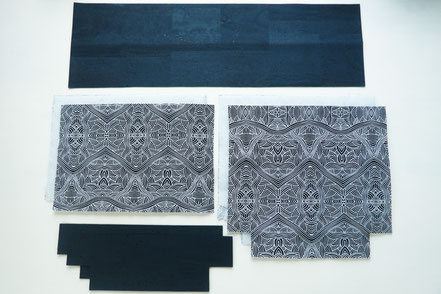
Cut the following pattern pieces (dimensions including 1 cm seam allowance):
Outer fabric
2x outside pocket, part 1: 28 x 19 cm
2x inner pocket: 28 x 26 cm (cut off 2 squares of 4 x 4 cm on the lower wider side)
Cork fabric
1x outside pocket, part 2: 54 x 8 cm in the break
2x bottom: 28 x 9 cm (cut off 2 squares of 4 x 4 cm on the lower wider side)
fleece
2x outside pocket, part 1: 28 x 19 cm
2x inner pocket: 28 x 26 cm (cut off 2 squares of 4 x 4 cm on the lower wider side)
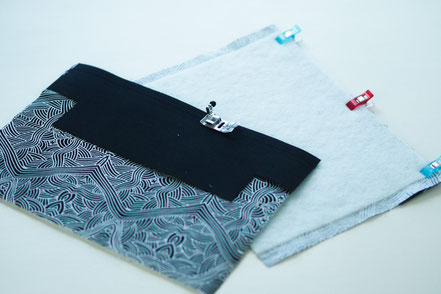
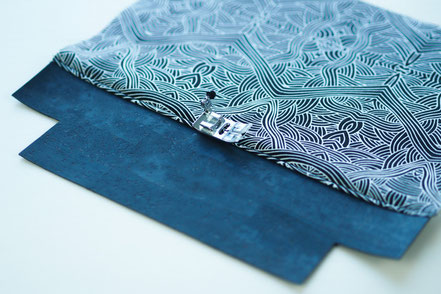
1. Sew the bottom and outer part together
Iron the fleece insert onto the pattern pieces "outer pocket, part 1" and "inner pocket" according to the instructions for use.
Then place the pattern “floor” made of cork fabric right sides together on the pattern “outer pocket, part 1” and pin it in place. Sew them together with a seam allowance of 1 cm.
Turn the sewing pieces over and briefly iron over the seam. The seam allowance is folded up.
Quilt the just sewn seam close to the edge.
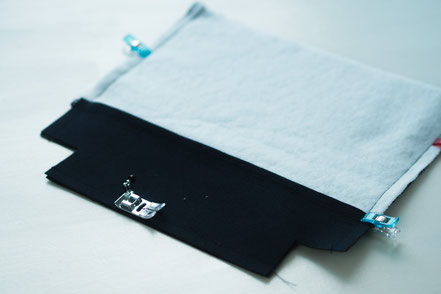
3. Sew the outer pocket together
Lay the sewn-together side parts for the outer
Pocket right sides together, pin them and sew them together on the side and on the lower edge with a seam allowance of 1 cm. The cut out squares and the top edge remain open.
4. Sew the bottom
Pull the bottom apart and fold the cut-out squares together so that the bottom seam meets the respective side seam and a straight edge is created. Pin them in place, the seam allowances are spread apart. Sew them together with a seam allowance of 1 cm.
5. Sew the inner lining together
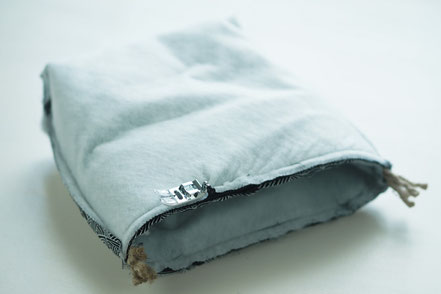
Sew the lining together in the same way. Lay right sides together, close side and bottom seams, pin bottom seam on side seam and sew. Leave a turning opening of 5-8 cm on one side seam.
6. Sew the cork piece together
Take the pattern “outer pocket, part 2”, fold it right sides together on the short side so that the short edges meet. Sew the strip together with a seam allowance of 1 cm. This is how a ring is created.
7. Quilting, part 2
Fold the ring around its circumference so that the left side is on the inside and the beautiful right side is on the outside. Stitch the upper edge close to the edge.
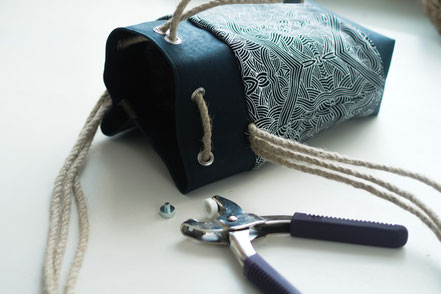
8. Cut the carrier
Take the cotton cord and cut three strips of equal length. The length depends on whether you want to hang the bucket bag around or just carry it loosely on your shoulder. Adjust the length accordingly.
9. Sew on the cork cut piece and straps
Pin the ends of the strips to the side seams. Make sure that the strings are not twisted. Then place the ring made of the cork fabric with the open edge up on the outer pocket, with the seam in the center back.
Sew both together with a seam allowance of 1 cm. The straps are sewn on the sides, they lie between the ring made of cork and the outer pocket.
10. Sew on the inner lining
Pull the inside pocket right sides over from below. The side seams meet directly. Unfold the seam allowances. Pin everything and sew them together.
Sew carefully, i.e. slowly, over the areas with the strings, as the thickness can be difficult for some machines.
11. Turn
Turn your bag inside out through the reversible opening. However, do not push the inner pocket into the pocket yet.
12. Close the turning opening
Pin the reversible opening together so that the open edges are on the inside and close it by hand or with the machine.
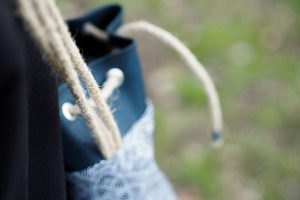
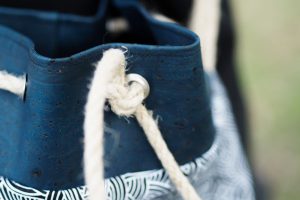
13. Fold in the eyelets and pull the tape through
On the cork fabric ring, mark the points for the eyelets from the seam in the center back. Start with a distance of 5 cm from the seam and 2 cm from the top edge and continue with a distance of 7 cm between the eyelets. Mark eight eyelets. The eyelets are very close together in the middle at the front. Punch out the spots and attach the eyelets with the eyelet pliers or a hammer.
Finally, pull the rope through the eyelets. You can choose the length yourself.
We use technologies such as cookies to store and/or access device information. We do this to improve the browsing experience and to display personalized advertising. If you agree to these technologies, we can process data such as surfing behavior or unique IDs on this website. If you do not give or withdraw your consent, certain functions may be affected.
Functional
Always active
The technical storage or access is absolutely necessary for the legitimate purpose of enabling the use of a certain service that is expressly requested by the subscriber or user, or for the sole purpose of transmitting a message via an electronic communication network.
preferences
Technical storage or access is necessary for the legitimate purpose of storing preferences that have not been requested by the subscriber or user.
Statistics
The technical storage or the access, which takes place exclusively for statistical purposes.Technical storage or access that is used exclusively for anonymous statistical purposes. Without a subpoena, the voluntary consent of your Internet service provider or additional records from third parties, the information stored or retrieved for this purpose cannot usually be used to identify you alone.
Marketing
The technical storage or access is required to create user profiles, to send advertising or to track the user on a website or across several websites for similar marketing purposes.