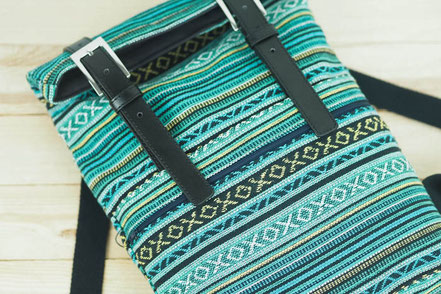
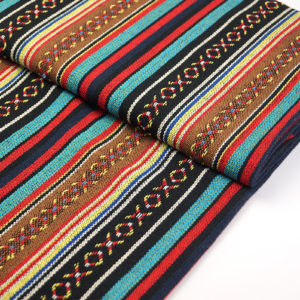
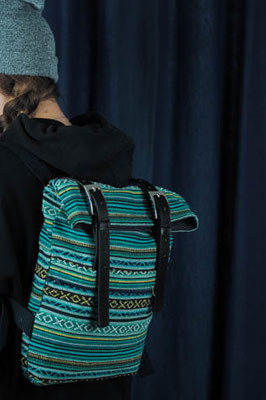
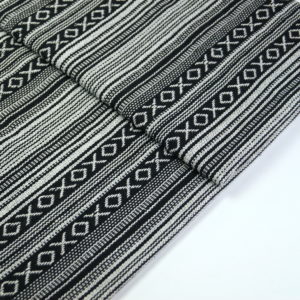
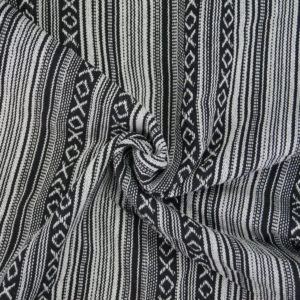
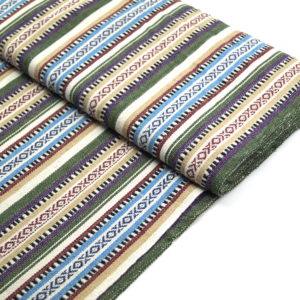
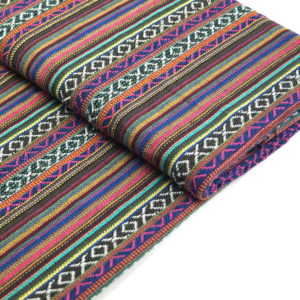
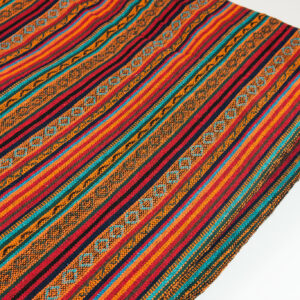
Beautiful fabrics have to be presented in a particularly attractive way. And that is exactly what applies to our beautiful Nepalese fabrics. The hand-woven cotton fabrics go perfectly with a backpack. With these instructions you can easily sew a “balte” backpack yourself. So the fabric is presented perfectly and used in a really practical way. We explain step by step how you can make the backpack with a front pocket, a zipper and a flap that is closed with old belts. Sewing gradually becomes a great companion for your everyday life, because the fabric is robust and can withstand a lot. You don't need a pattern for the backpack, it is sewn from several rectangles. Everything you need and how to gradually sew the pattern pieces together can be found in these instructions!
First iron the insert onto the left side of your inner fabric, ie first place the insert with the adhesive surface facing up, then the fabric with the right side over it and possibly a damp kitchen towel on top. How long the iron has to be pressed on depends on your insert.
Sew on zipper, 1st part
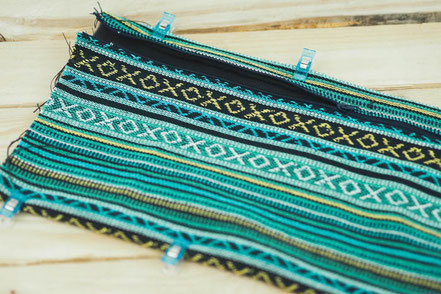
First put the zipper right sides together on your outer fabric. Then you put the inner fabric together, also right sides together. The zipper is now between the outer and inner fabric. Sew everything together at the top edge about the width of a presser foot. Caution! Shortly before the slider, let the needle stick in the fabric, presser feet up, carefully slide the slider forward, continue sewing.
Fold the outer and inner fabric over once so that the side that has not yet been sewn is facing up on the zipper. If necessary, iron briefly over the seam and then topstitch the seam again just next to the edge from above.
Sew on zipper, 2st part
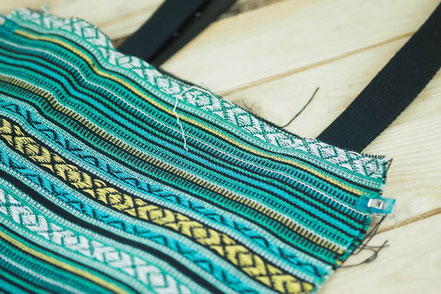
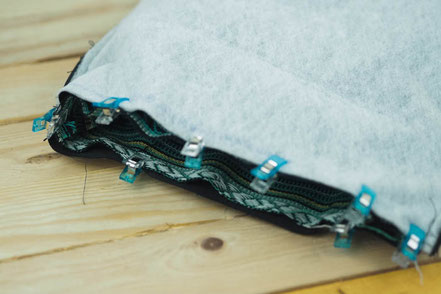
Now fold the lower edge of your outer fabric up and fold it around the unsewn edge of the zipper. Turn the piece over and then fold the inner fabric up to the zipper and pin it in place. Again, the zipper lies between the inner and outer fabric. Both fabrics are folded away from each other.
Quilting, part 2
This is where quilting the second side of the zipper becomes a bit tricky. Turn the bag over and iron it over the seam that has just been sewn. Then open your zipper completely and stitch the edge just before the slider. Leave the needle in the fabric, press the presser feet up, push the slider up a little, continue topstitching.
Complete the bag
Put the bag in front of you and fold it so that the zipper is in the top half and at least 2 cm from the top edge. You can freely decide the exact position here. If necessary, pin the exact edges or iron them over briefly.
Attach the clasp
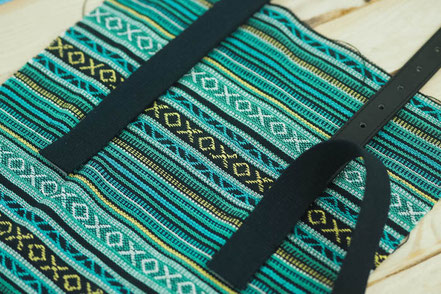
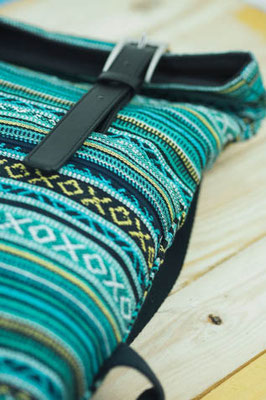
Before you sew on the upper edge of your bag, the fastener is also sewn in. I used two old belts for the fastener, other fasteners with e.g. webbing are also possible. Shorten your belt to approx. 10 cm from the buckle to the end and place the buckle approx. 8 cm from the outer edges. The ends disappear under the pocket. Sews the top edge of the bag in place.
Sew on the bag
Now position the pocket on the front of your outer fabric. The pocket should be about 5 cm away from the break and lie nicely straight. Now sew the bag on the sides. You can also stitch the lower edge of your bag in place. The upper edge remains open.
Sew on straps
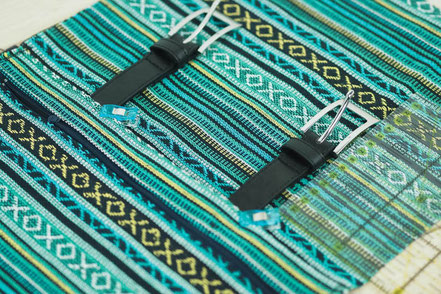
Now we come to the back of your backpack. First, place the counterparts for the fastener (previously shortened to 40 cm) also approx. 8 cm from the edge and 25 cm from the top edge on the fabric. Sew briefly over them so that they don't slip anymore. Then place 2 strips of webbing á 45-50 cm over it and sew them with a short seam.
Sew on the cover
Grab the pattern for the panel (12 x 33 cm) and iron the edge 1 cm to the wrong side of the fabric on the two long sides. Lay the pattern piece straight on the back of the fabric (approx. 15 cm from the top edge
removed). In doing so, they cover the ends of the webbing and clasp. Pin them to the sides and sew them first on the lower, then on the upper edge. Caution! Sew carefully over the webbing and clasp.
Sew the outer fabric together
Fold your outer fabric right sides together. The top edges meet. Make sure that the fastener and strap do not slip between them. Put a strip of 9 cm webbing between the left and right about 30 cm from the floor at an angle and put everything together.
Sew corners
Sews the outer fabric together at the side edges. The edge remains open at the top. Fold the lower corners towards the floor so that a triangle is created there. Mark the corners at a height of approx. 4 cm and sew along the marking. Make sure that the seam is straight. Then cut the corners back to just before the seam. Turn the bag inside out.
Sew the inner fabric together
Now sew the inner fabric together in the same way. First fold right sides together, pin side edges, sew together. Leave a turning opening of at least 10 cm free. Finally sew off the two corners.
Sew the outer and inner fabric together
Now slide the inside pocket right sides together over the outside pocket. The side seams meet exactly. Stuck everything. Again, make sure that the strap and fastener do not slip between them. Sew everything together around it once. If your sewing machine has a free arm, use it here for sewing. Then turn the backpack through the opening.
Quilting, part 3
First close the turning opening by hand or with the sewing machine. Then slide the inner lining into the backpack, shape the corners nicely and iron over the upper edge. Then quilt the upper edge close to the edge.
Complete the beam
Your backpack is almost ready, only the straps are missing. Thread the ends of the upper webbing onto the slider, fold the edge over and sew it in place with a tightly set zigzag stitch. The lower straps are threaded into the slider from below, around the middle piece back down, so you have adjustable straps. If necessary, shorten the lower ends of the webbing.
Done!
Notes: If your webbing is made of polyester, you can simply cut off the ends and thread them up. Unfortunately, this does not work with cotton straps. With a push button you can also close your backpack at the top.
Complete the beam
Your backpack is almost ready, only the straps are missing. Thread the ends of the upper webbing onto the slider, fold the edge over and sew it in place with a tightly set zigzag stitch. The lower straps are threaded into the slider from below, around the middle piece back down, so you have adjustable straps. If necessary, shorten the lower ends of the webbing.
We use technologies such as cookies to store and/or access device information. We do this to improve the browsing experience and to display personalized advertising. If you agree to these technologies, we can process data such as surfing behavior or unique IDs on this website. If you do not give or withdraw your consent, certain functions may be affected.
Functional
Always active
The technical storage or access is absolutely necessary for the legitimate purpose of enabling the use of a certain service that is expressly requested by the subscriber or user, or for the sole purpose of transmitting a message via an electronic communication network.
preferences
Technical storage or access is necessary for the legitimate purpose of storing preferences that have not been requested by the subscriber or user.
Statistics
The technical storage or the access, which takes place exclusively for statistical purposes.Technical storage or access that is used exclusively for anonymous statistical purposes. Without a subpoena, the voluntary consent of your Internet service provider or additional records from third parties, the information stored or retrieved for this purpose cannot usually be used to identify you alone.
Marketing
The technical storage or access is required to create user profiles, to send advertising or to track the user on a website or across several websites for similar marketing purposes.


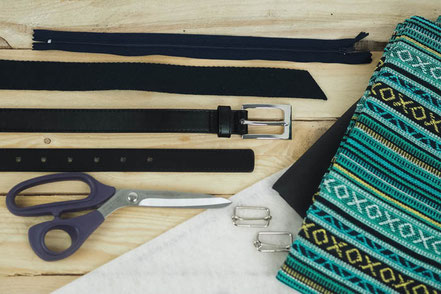 Material
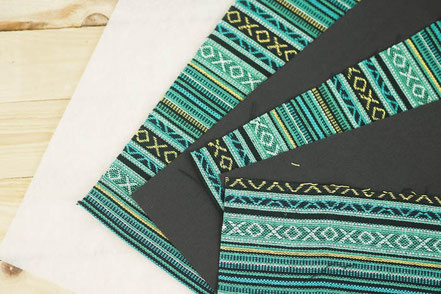 Cutting
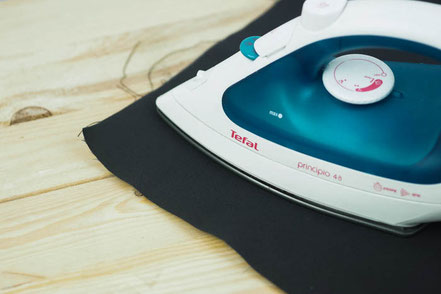 Iron
Iron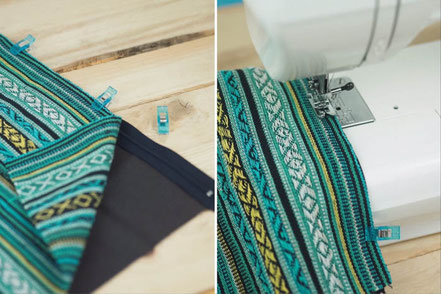 Sew on zipper, 1st part
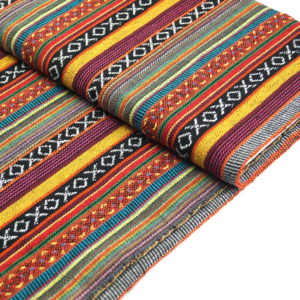


 Quilting