Cut out the pattern on the line (since we sew with bias tape, we don't need a seam allowance!), Attach it to the iron-on fleece with pins and cut it out. If you do not want to cut the pattern, you can alternatively trace it beforehand on another paper or transfer the cut directly onto the fleece with copy paper and then cut it out.
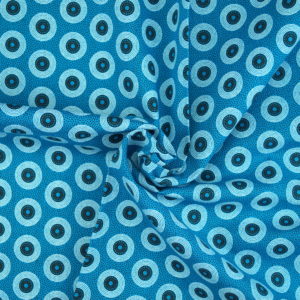
The cut-out iron-on fleece can now be ironed onto the inside of the inner fabric and used as a template at the same time. All fabrics that are pleasant to the eyes, such as satin or light cotton fabrics, are suitable for the inner fabric, but a thicker fleece fabric can also be used depending on how you feel (this also saves the stabilization of the iron-on fleece).
In the next step, stick the inner fabric with the ironed-on fleece onto the outer fabric and cut once all around. You can also draw and cut out the outline here instead of the needles.
Then place the inner and outer fabric on top of each other inside out. Now pin the elastic in the middle between the outer and inner fabric on both sides. Measure again on your own head to see whether it is the right length. I took a ribbon with a length of 37 cm and stuck this about 1 cm on both sides between the two pieces of fabric.
Now cut the bias binding into two pieces of 27 cm each. To be on the safe side, you can measure again - from the middle of the rubber band to the middle of the other end - at the top and bottom. Now cut the beginning of the bias tape in the middle to 1 cm (see left) and then put it around the glasses and the elastic band from both sides and pin (see right).
Now place the first piece of the bias tape further up around the inner and outer parts and pin in place. Repeat with the second part at the bottom. Make sure that both sides are always pinned!
Now sew the tape with the sewing machine all around close to the edge.
The transitions between the two bias tape parts can be embellished in a second pass. Simply sew along the edges or fold over protruding corners again and then sew on
We use technologies such as cookies to store and/or access device information. We do this to improve the browsing experience and to display personalized advertising. If you agree to these technologies, we can process data such as surfing behavior or unique IDs on this website. If you do not give or withdraw your consent, certain functions may be affected.
Functional
Always active
The technical storage or access is absolutely necessary for the legitimate purpose of enabling the use of a certain service that is expressly requested by the subscriber or user, or for the sole purpose of transmitting a message via an electronic communication network.
preferences
Technical storage or access is necessary for the legitimate purpose of storing preferences that have not been requested by the subscriber or user.
Statistics
The technical storage or the access, which takes place exclusively for statistical purposes.Technical storage or access that is used exclusively for anonymous statistical purposes. Without a subpoena, the voluntary consent of your Internet service provider or additional records from third parties, the information stored or retrieved for this purpose cannot usually be used to identify you alone.
Marketing
The technical storage or access is required to create user profiles, to send advertising or to track the user on a website or across several websites for similar marketing purposes.
 THAT'S NEEDED:
 AND HOW TO DO IT:
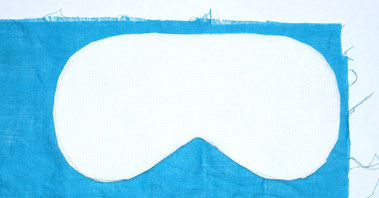
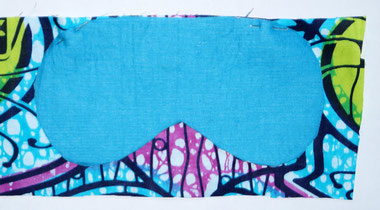 In the next step, stick the inner fabric with the ironed-on fleece onto the outer fabric and cut once all around. You can also draw and cut out the outline here instead of the needles.
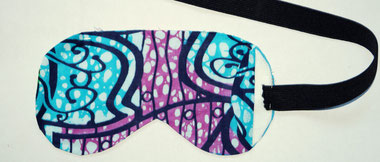
 Now cut the bias binding into two pieces of 27 cm each. To be on the safe side, you can measure again - from the middle of the rubber band to the middle of the other end - at the top and bottom. Now cut the beginning of the bias tape in the middle to 1 cm (see left) and then put it around the glasses and the elastic band from both sides and pin (see right).