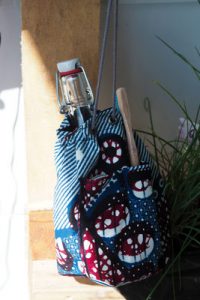
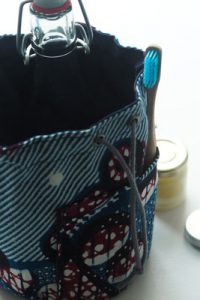
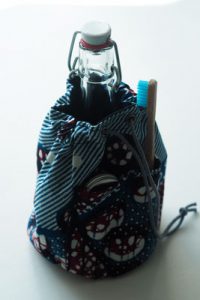
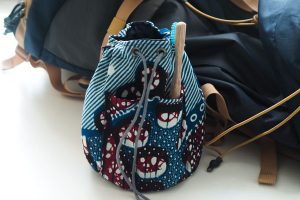
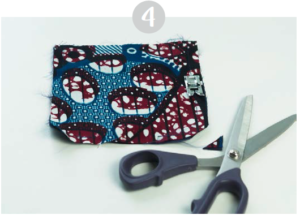
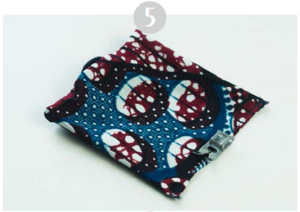
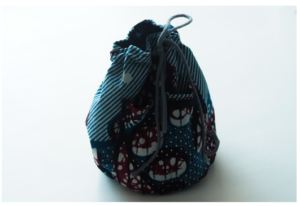
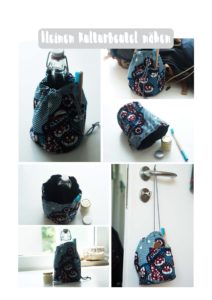
Sometimes it doesn't have to be that much. Simply to save a little luggage or because you don't need that much, it doesn't always have to be the big washbag. A small one does it too. This time a small toiletry bag was created from the great wax prints from Ghana. There is space for a toothbrush, shower gel and a small brush with a round base and can be closed at the top. And especially practical: with a knot in the ribbon, you can simply hang up your toiletry bag.
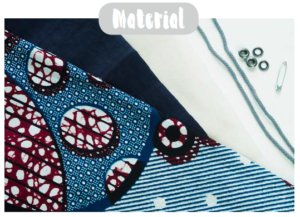
Material
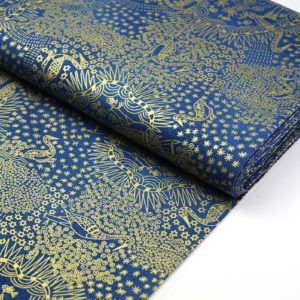
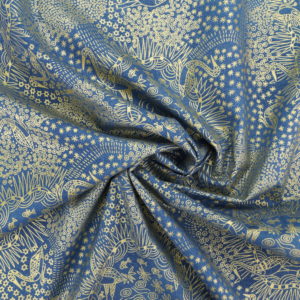
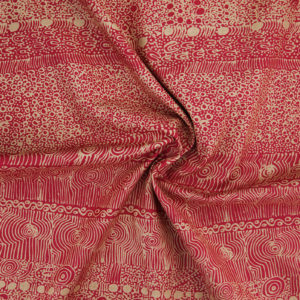
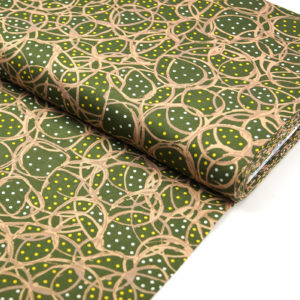
Fabric: Everlasting, approx. 0,4 m
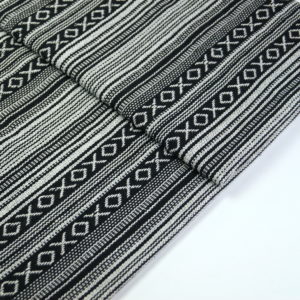
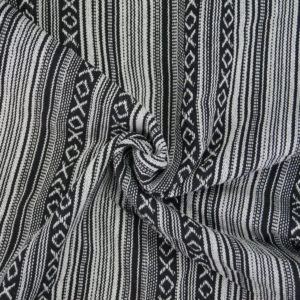
Lining material (e.g. plain cotton, coated cotton, ...)
thin iron-on insert
Eyelets with a suitable tool
Cotton cord, approx. 0,8 m
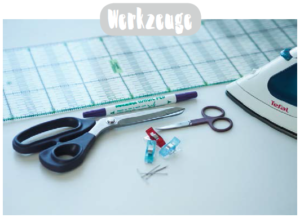
Tools
Fabric scissors
Linear
textile marker
Wonderclips
Iron
Optional: small safety pin
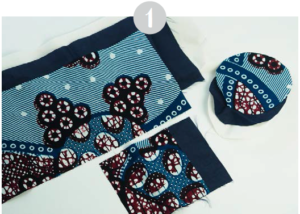
1. Cutting
You can freely determine the dimensions of your pattern pieces. Just think about how high and wide you want your toiletry bag to be. Also consider the 1 cm seam allowance. The side part corresponds to the circumference from the floor +2 cm for the seam allowance. Cut both pattern pieces from your outer and lining material.
If you want to sew a pocket on the outside, cut an additional 12 × 12 cm square from the outer and lining material.
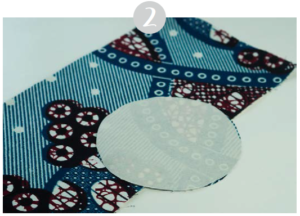
2. Iron on the insert
Place the insert with the adhesive surface facing up, place the respective pattern pieces from your outer fabric with the back side down on it. Then iron the insert onto your fabric.
3. Put the outer pocket together
Take the two pattern pieces for the outer pocket and place them right sides together. Pin the whole thing with needles.
If you want to sew your toiletry bag without an outside pocket, you can simply skip the next steps. Just go to step 9.
4. Sew the outer pocket together
Sew the pattern pieces together on three sides. The lower edge remains open. Start on the lower left side, sewing up to about 1 cm from the edge. Leave the needle in the fabric, lift the presser foot and turn the whole thing 90 degrees. Then continue sewing normally until the next corner. Then cut the corners back diagonally until just before the seam. Lock the seams well at the beginning and end.
5. Quilting
Turn the bag right side out and shape the corners. Iron the upper edge and then stitch it close to the edge.
Pin your outer pocket to your desired position on the side panel. The lower edge of the pocket and side part meet directly.
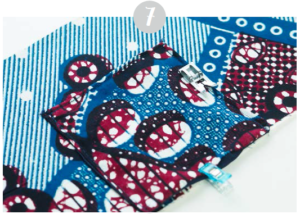
7. Sew on the bag
Quilt the outside pocket tightly on the sides. The bottom and top edges remain open. Again just barely lock the beginning of the seam.
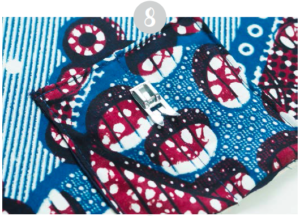
8. Topstitch pocket compartment
You can still divide your bag. To do this, sew a seam parallel to the sides in the middle of your outer pocket.
9. Put the side panels together
Pin the side pieces right sides together on the short sides.
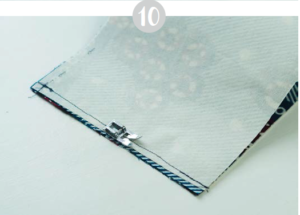
10. Sew the side piece together
Sew it together along the short side with a 1 cm seam allowance. Lock the beginning and the end well.
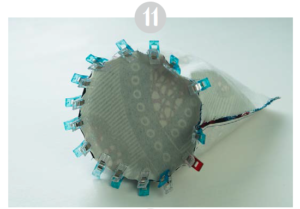
11. Sew the bag together
Pin the side panel to the floor, right sides together. Use a lot of needles to keep the fabric from slipping while sewing. Sew the bag together again with a seam allowance of 1 cm.
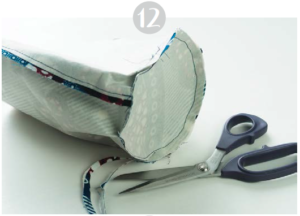
12. Shorten the seam allowance
Cut back the seam allowance.
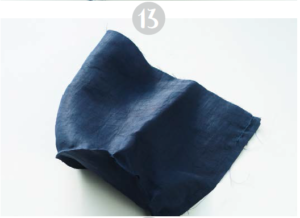
13. Sew the lining
Exactly as described in steps 9 to 12, you now sew the inner lining together. Only this time leave a turning opening of almost 5 cm open on the side seam.
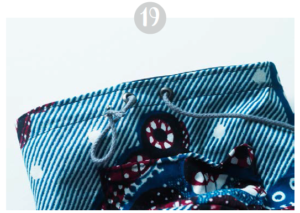
14. Attach eyelets
Mark the places for your eyelets with a distance of 2 cm. These should also be about 2 cm apart. Then attach your eyelets with an appropriate tool, i.e. with pliers or with a washer and hammer.
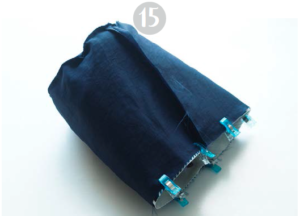
15. Put the bags together
Pull the bag from your lining, right sides together, onto your bag from the outer fabric and pin it in place. The two side seams meet directly.
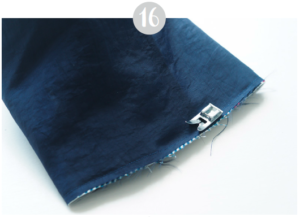
16. Sew the bag together
Sew your bag together with a seam allowance of 1 cm all around. Carefully sew where the eyelets are so that they can gently slide past the presser foot.
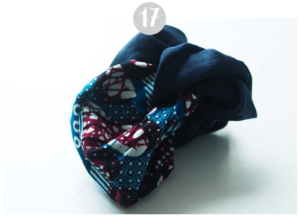
17. Turn
Turn your bag inside out through the opening. Close the reversible opening by hand or with the sewing machine before you slide the lining into the outer pocket.
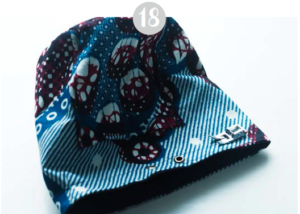
18. Sew the tunnel
First step the top edge close to the edge. If necessary, you can carefully iron the edge beforehand. However, be careful if you have chosen coated cotton for the lining. Needles also help here.
Sew a second seam 2 cm below the top edge. This is how the tunnel for the cord is created.
19. Pull the cord through
With the help of a small safety pin you can now carefully push your cotton cord through the tunnel.
Complete! Your cultural bag is simply closed with a bow. And with a knot at the ends, you can easily hang it up.
We use technologies such as cookies to store and/or access device information. We do this to improve the browsing experience and to display personalized advertising. If you agree to these technologies, we can process data such as surfing behavior or unique IDs on this website. If you do not give or withdraw your consent, certain functions may be affected.
Functional
Always active
The technical storage or access is absolutely necessary for the legitimate purpose of enabling the use of a certain service that is expressly requested by the subscriber or user, or for the sole purpose of transmitting a message via an electronic communication network.
preferences
Technical storage or access is necessary for the legitimate purpose of storing preferences that have not been requested by the subscriber or user.
Statistics
The technical storage or the access, which takes place exclusively for statistical purposes.Technical storage or access that is used exclusively for anonymous statistical purposes. Without a subpoena, the voluntary consent of your Internet service provider or additional records from third parties, the information stored or retrieved for this purpose cannot usually be used to identify you alone.
Marketing
The technical storage or access is required to create user profiles, to send advertising or to track the user on a website or across several websites for similar marketing purposes.